
The Best Ways to Paint Window Frames and Trim
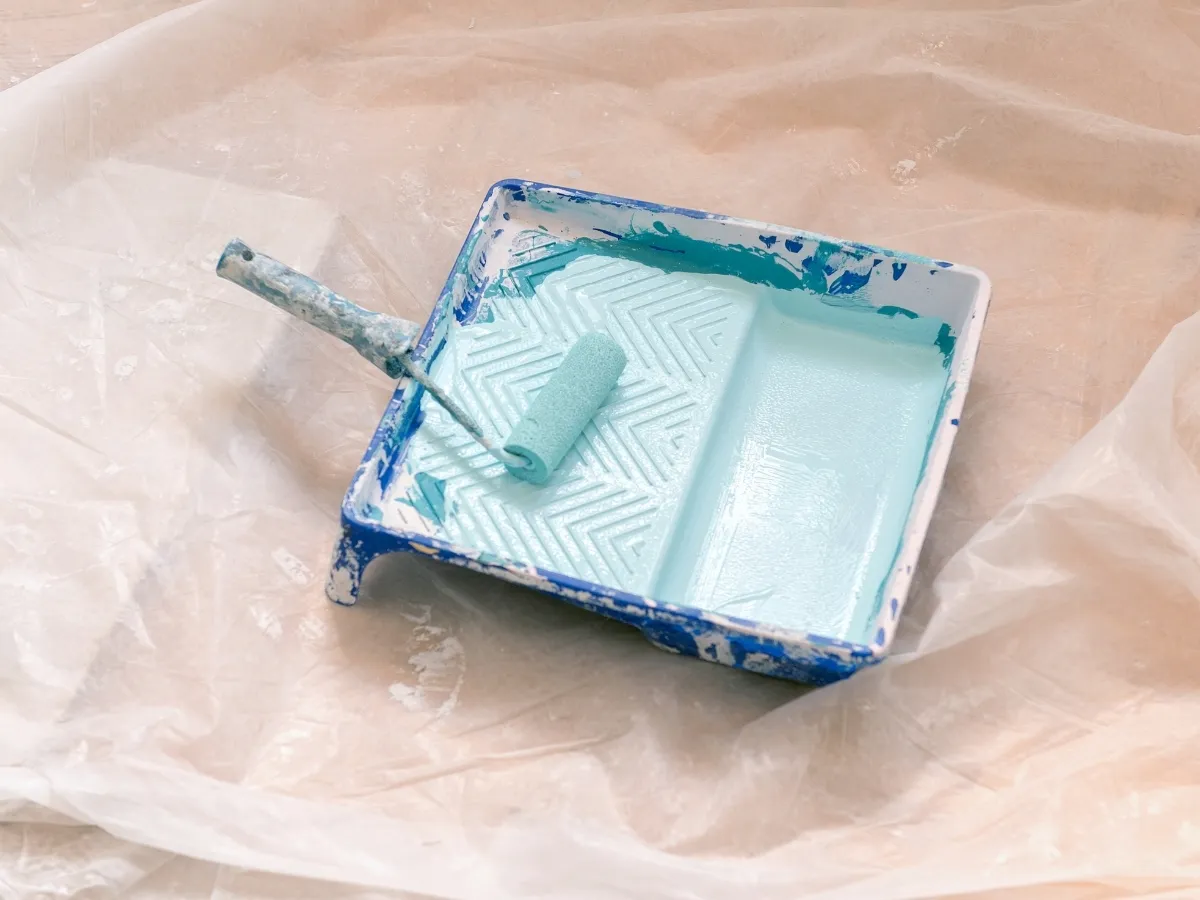
Window frames and trim play an important role in shaping the visual structure of a room. These features create clean borders around windows and help emphasize the architectural details of the space. Over time, however, window trim can become scuffed, chipped, or discoloured due to sunlight, dust, and everyday contact. When trim begins to show signs of wear, it can make the entire room appear less polished. Painting window trim is an effective way to restore these details and give the room a refreshed and well-maintained appearance.
Proper preparation is the first step in achieving a smooth and professional finish when painting window frames and trim. The surface should be thoroughly cleaned to remove dust, grease, or residue that could affect paint adhesion. Any chipped or peeling paint should be gently sanded away to create a smooth surface. Small holes or imperfections may also need to be filled before painting begins. Many painters apply painter’s tape along the edges of the window and surrounding walls to create sharp lines and protect nearby surfaces during the painting process.
Using the right tools and techniques also plays a key role in producing a clean, durable result. A high-quality angled brush is commonly used for trim because it allows painters to control the paint more precisely along edges and corners. Applying thin, even coats helps prevent drips and brush marks while allowing the paint to dry evenly. In many cases, a durable finish such as semi-gloss is selected for window trim because it resists scuffs and is easy to clean. By combining careful preparation with proper painting techniques, homeowners can achieve crisp, long-lasting window trim that enhances the overall appearance of the room.
Why Window Trim Needs Repainting
Window trim is constantly exposed to environmental and everyday factors such as sunlight, dust, humidity, and frequent contact from opening or cleaning windows. Over time, these conditions gradually weaken the paint’s protective layer, causing it to fade, dull, or develop chips and scratches. When the paint begins to wear away, the trim can start to look aged and neglected, which affects the overall appearance of the room. Repainting the trim helps restore its protective coating, preventing further deterioration and keeping the surface smooth and well-sealed.
In addition to protection, repainting window trim significantly improves the visual appeal of an interior space. Fresh paint sharpens the edges around the window frame, creating a clean and defined look that makes the room appear more polished and carefully maintained. Updated trim colors can also help modernize older interiors, especially when paired with newly painted walls or refreshed décor. By maintaining and repainting window trim when necessary, homeowners can preserve the finer details of a room and ensure that the space continues to look neat, refined, and visually balanced.
Choosing the Right Paint for Window Trim
Selecting the right paint is one of the most important steps when painting window trim. Trim surfaces require durable paint because they are frequently touched and exposed to sunlight. Semi gloss paint is one of the most popular options for window trim. It offers a smooth finish that resists scuffs and is easy to clean. This finish also reflects a small amount of light, which helps highlight the trim against the surrounding wall colour. High quality trim paint also helps protect the surface from moisture and everyday wear. Professional painters often recommend products specifically designed for doors and trim.
Preparing the Window Trim Surface
Preparation is essential when painting window trim. Without proper preparation, the paint may not adhere correctly or may appear uneven. The first step is cleaning the trim to remove dust, oils, and residue. Even small amounts of dirt can affect how the paint bonds to the surface. Next, the trim should be lightly sanded to smooth the surface and remove loose paint. Sanding also helps the new paint adhere better. Any dents or small holes should be repaired before painting begins. Once the surface is smooth and clean, it is ready for primer and paint. Careful preparation helps ensure the finished trim looks smooth and professional.
Protecting the Glass and Surrounding Areas
Protecting the glass and surrounding surfaces is an important step when painting window trim. During the painting process, it is essential to prevent paint from touching the glass panes, nearby walls, or window hardware, as accidental marks can be difficult to remove and may affect the overall finish. To achieve this, painters typically apply painter’s tape carefully along the edges of the glass and trim. This creates a clear boundary that helps ensure straight, clean paint lines. In addition, drop cloths are often placed on floors and over nearby furniture to protect them from paint drips, splatters, or dust that may occur during the work.
These preparation steps allow painters to focus on applying paint smoothly and accurately without worrying about damaging surrounding surfaces. Once the paint has fully dried, the painter’s tape can be gently removed to reveal sharp, crisp edges that give the trim a professional appearance. Taking time to prepare and protect the surrounding areas not only keeps the workspace clean but also contributes significantly to the overall quality of the finished project. Careful attention to detail during preparation helps ensure that the final result looks neat, precise, and well executed.
Using the Right Painting Tools
The tools used during painting window trim can significantly affect the quality of the finish. Because trim surfaces are narrow and detailed, smaller brushes are usually required. Angled brushes are commonly used for trim work because they provide better control along edges and corners. These brushes help painters apply paint precisely without spreading it onto surrounding surfaces. Foam rollers may sometimes be used on flat trim sections to create an ultra smooth finish. Using high quality tools ensures the paint spreads evenly and dries with minimal brush marks. Professional painters carefully select tools designed for trim and detail work.
Applying Multiple Thin Coats
Applying multiple thin coats of paint is an important technique when painting window trim. Using thick layers of paint may seem like a faster approach, but it often leads to problems such as drips, uneven coverage, and noticeable brush strokes. These issues can make the trim look messy and unprofessional once the paint dries. To avoid this, painters typically apply several thin coats instead of one heavy layer. Each coat is allowed to dry fully before the next one is added, which helps the paint settle evenly and adhere properly to the surface.
This gradual process helps create a smooth and consistent finish that enhances the overall appearance of the trim. In some situations, painters may lightly sand the surface between coats to remove any small imperfections and ensure that the next layer of paint bonds well. This extra step contributes to a more refined and polished result. By carefully applying thin coats and allowing proper drying time, painters can achieve the clean, factory-like finish that is often associated with high-quality professional trim painting.
Coordinating Trim Colours With Walls
Window trim colour plays a role in the overall design of the room. Many homeowners choose white trim because it creates a classic and clean contrast with wall colours. White trim works well with many paint palettes and helps windows appear brighter. However, other colours may also be used depending on the home’s style. Soft grey or neutral tones can create a more modern appearance. Some homeowners also choose matching wall and trim colours for a subtle and seamless look. Coordinating trim colours with the rest of the room ensures the design feels balanced.
Professional Interior Painting for Trim Work
Painting window trim requires patience and precision. Because trim details are highly visible, even small mistakes can affect the final appearance. Professional painters understand how to prepare trim surfaces properly and apply paint with clean edges. They also use high quality products that provide durability and smooth finishes. Our interior painting services include detailed trim and window frame painting designed to enhance the appearance of every room in the home. Professional painting ensures trim surfaces look sharp and well maintained.
Window trim painting is also important in new construction homes. Even newly installed trim may require finishing coats to achieve a consistent appearance. Professional painters prepare and prime trim surfaces before applying paint. This process ensures the paint adheres properly and produces a smooth finish. Our new construction painting services help homeowners achieve clean and durable trim finishes that complement the entire interior design. Proper trim painting ensures the home looks polished from the start.
Final Thoughts
Window frames and trim may seem like small details, but they have a big impact on the overall appearance of a room. Painting window trim restores these features, highlights architectural details, and helps create a clean and polished interior. At Balzer’s Brushing, we take pride in delivering professional painting services that focus on every detail, including trim and window frames. Our experienced painters prepare surfaces carefully and apply paint with precision to ensure smooth and durable results. If your windows and trim are ready for a refresh, visit our contact page to connect with Balzer’s Brushing and discover how professional painting can enhance the beauty of your home.
