
How to Prepare Your Walls Before Painting
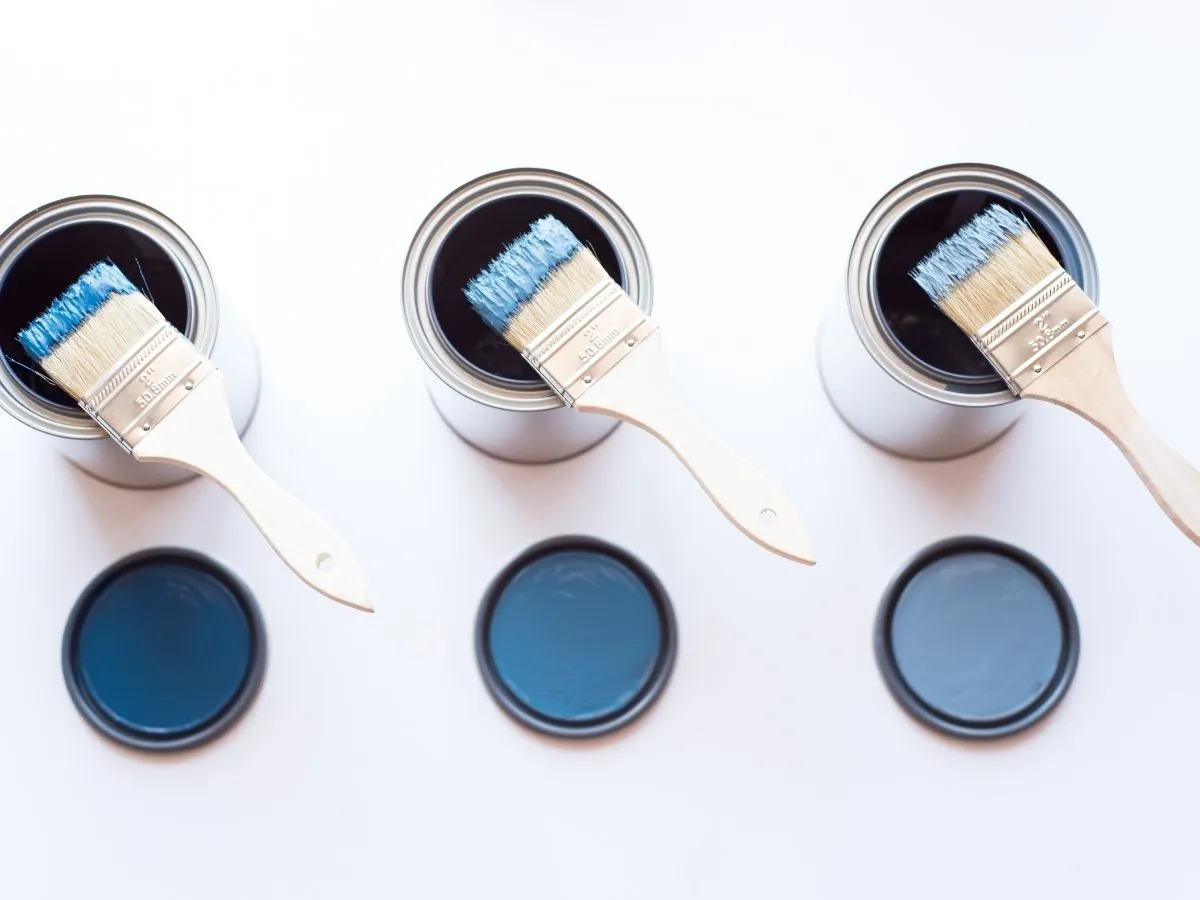
Proper wall painting preparation is essential for achieving a smooth, professional-looking finish. Skipping this crucial step can lead to peeling, uneven colour, and wasted effort. By taking the time to prepare walls correctly, homeowners can ensure their painting project is successful and long-lasting.
Wall painting preparation is not just about cleaning the surface. It also involves repairing imperfections, sanding, priming, and protecting areas that should not be painted. This guide will outline the key steps to prepare your walls for painting, ensuring a flawless result.
Key Steps in Wall Painting Preparation
1. Clear the Room and Protect Surfaces
Before starting any wall painting preparation, it is important to remove furniture or move it to the centre of the room. Cover the floors with drop cloths and protect fixtures, trim, and outlets with painter’s tape. Taking these precautions prevents accidental paint splatters and saves time during clean-up.
2. Clean the Walls Thoroughly
Dust, dirt, and grease can prevent paint from adhering properly. Start by wiping walls with a damp cloth or sponge. For kitchens and areas prone to grime, use a mild detergent solution to remove stubborn stains. Clean walls ensure a smooth application and help the paint look vibrant and even.
3. Inspect for Damage
Check your walls for cracks, holes, or dents. These imperfections can ruin the final paint finish. Small nail holes and minor cracks can be filled with spackling paste, while larger gaps may require patching with a wall repair compound. Once dry, sand the patched areas until smooth.
4. Sand the Surface
Sanding is a critical part of wall painting preparation. It smooths out rough spots and old paint drips while creating a slightly textured surface that helps new paint adhere. Use fine-grit sandpaper and work gently, ensuring the wall surface is even.
5. Remove Dust After Sanding
After sanding, dust will settle on walls, which can affect paint adhesion. Wipe the walls with a damp cloth or use a vacuum with a brush attachment. A dust-free surface allows the primer and paint to stick properly, resulting in a more professional finish.
6. Apply Primer
Priming is one of the most important steps in wall painting preparation. Primer seals the wall surface, hides previous colours, and improves paint adhesion. Choose a primer suitable for your wall type, such as drywall, plaster, or wood. Applying primer ensures the paint colour appears true and lasts longer.
7. Protect Trim and Fixtures
Even with careful preparation, paint can accidentally reach areas like window frames, baseboards, and light switches. Use painter’s tape to cover these areas. Remove the tape before the paint fully dries to avoid peeling and ensure sharp, clean lines.
8. Gather Quality Painting Supplies
Having the right tools simplifies wall painting preparation. Invest in quality brushes, rollers, and trays. Good tools allow for even paint application and reduce streaking. Additionally, using appropriate drop cloths, gloves, and masks keeps the workspace safe and clean.
Common Mistakes to Avoid During Wall Preparation
Even small errors in wall preparation can affect the final outcome. Here are common mistakes to avoid:
- Skipping cleaning: Dirt and grease prevent paint from sticking properly.
- Ignoring cracks or holes: Paint applied over damaged areas will look uneven.
- Not sanding: Rough spots can show through the paint, ruining the finish.
- Using the wrong primer: Choose a primer suitable for the wall material.
- Painting too soon after priming: Allow primer to dry completely for best results.
Avoiding these mistakes will save time, effort, and money while ensuring a smooth and professional paint job.
Tips for Efficient Wall Painting Preparation
- Work in sections: Tackle one wall at a time for better results.
- Use a sanding block: It helps maintain even pressure and smooth surfaces.
- Ventilate the room: Proper airflow speeds up drying time for cleaning solutions, spackling, and primer.
- Take breaks: Preparing walls can be physically demanding, so pacing yourself improves accuracy and efficiency.
Following these tips helps make wall painting preparation less overwhelming and more effective.
When to Consider Professional Help
While many homeowners can handle wall preparation themselves, some situations call for professional assistance:
- Extensive water damage or mould
- Large cracks or structural issues
- High walls or ceilings that are difficult to reach
Hiring experts ensures that the walls are properly prepared for painting, reducing the risk of future repairs. Professionals can also provide advice on the best products and techniques for your home.
Benefits of Proper Wall Painting Preparation
Longer-Lasting Paint Finish
Proper preparation of walls is crucial for ensuring a long-lasting paint finish. Cleaning surfaces thoroughly removes dirt, grease, and dust that can interfere with paint adhesion. When walls are smooth and free of debris, paint bonds more effectively, reducing the chances of premature wear.
Repairing cracks, holes, or uneven areas before painting also contributes to durability. Filling and sanding imperfections create a stable surface that prevents paint from peeling or flaking over time. Well-prepared walls allow the paint to maintain its vibrant appearance for years, minimizing the need for frequent touch-ups.
Priming the surface is another step that enhances longevity. Primers create a uniform base that improves adhesion and helps the topcoat resist environmental factors, such as moisture or sunlight. Proper preparation ensures the investment in quality paint pays off with a lasting finish.
Smooth, Even Colour Without Streaks
Wall preparation is essential for achieving a smooth and uniform colour. Sanding rough patches and removing peeling paint eliminates texture irregularities that can show through the final coat. This results in a more professional-looking, flawless finish.
Cleaning walls ensures that no particles interfere with the application, preventing streaks, blotches, or patchiness. Professionals and well-prepared DIY painters alike benefit from surfaces that are consistent and ready to accept paint evenly. The outcome is visually appealing walls that enhance the room’s aesthetic.
Using a primer also helps create a smooth canvas. It seals porous surfaces, allowing the paint to glide on more evenly. This step is especially important when transitioning between light and dark colours or painting over previously painted walls.
Reduced Risk of Peeling and Cracking
Peeling and cracking are common issues that arise from insufficient wall preparation. Dirt, moisture, and structural imperfections can prevent paint from adhering properly, leading to unsightly damage over time. Addressing these factors before painting drastically reduces the likelihood of such problems.
Proper sanding and filling of cracks create a stable surface that can withstand temperature changes and everyday wear. Professionals often recommend priming to reinforce adhesion and prevent moisture from causing bubbles or peeling. By taking these steps, homeowners enjoy a durable and reliable finish.
Even small preparation tasks, such as cleaning or lightly sanding the wall, contribute significantly to preventing future issues. A well-prepared surface ensures that paint maintains its integrity, saving both time and money in maintenance.
Easier and Faster Painting Process
Wall preparation simplifies the painting process, making it faster and more efficient. Smooth, clean surfaces allow brushes and rollers to glide easily, reducing effort and minimizing mistakes. Painters can work more quickly without stopping to address imperfections mid-project.
Preparation also reduces the likelihood of needing multiple coats. A properly primed and cleaned surface absorbs paint evenly, which saves both material and time. Efficient application means homeowners enjoy quicker results without compromising quality.
Additionally, organized preparation—including moving furniture, taping edges, and covering floors—creates a stress-free painting environment. This careful groundwork helps the project flow smoothly, ensuring that both DIY and professional painters can complete the job efficiently and with excellent results.
Taking the time to prepare walls correctly saves money in the long run and enhances the overall look of your home.
Final Checks Before Painting
Before applying paint, double-check that walls are completely clean, smooth, and dry. Ensure painter’s tape is in place, furniture is protected, and primer is fully cured. Taking these final steps guarantees the best possible result for your painting project.
Proper wall painting preparation sets the foundation for a professional and durable paint job. Homeowners who follow these steps can enjoy a flawless finish and a room that feels refreshed and vibrant.
For expert guidance and professional painting services, we offer reliable solutions. Our team can handle all aspects of wall preparation and painting with precision. Explore our services and contact us for a consultation.
