
Why Paint Prep Is the Most Time Consuming Part of a Project
Many homeowners assume that painting is mainly about applying colour to walls, but the most critical part of the process actually happens before any paint is applied. The painting preparation process often takes the most time because it involves a series of steps designed to create the ideal surface for paint to adhere to. Proper preparation ensures that the paint bonds evenly, dries correctly, and delivers a smooth and consistent finish. Without this foundation, even high quality paint may not perform as expected, leading to visible imperfections and reduced durability.
Preparation typically begins with protecting the surrounding area and preparing the surfaces that will be painted. Furniture may need to be moved, floors and fixtures covered, and trim carefully taped to prevent accidental paint marks. Walls must also be cleaned to remove dust, grease, and residue that could interfere with paint adhesion. In many cases, painters also need to fill nail holes, repair minor cracks, and sand rough spots to create a smooth surface. Each of these tasks requires careful attention and time, but they play an important role in achieving a professional result.
Another reason the preparation process can be time consuming is that different surfaces require different treatments before painting. Some areas may need primer to seal porous materials or block stains, while others may require additional sanding to remove old peeling paint. Addressing these details ensures that the new paint will adhere properly and last longer. By investing time in thorough preparation, professional painters help ensure that the final paint job looks clean, even, and durable for years to come.
Why Preparation Matters Before Painting
The painting preparation process is essential because it creates the proper surface for paint to adhere effectively. For paint to perform well and last over time, it must be applied to a surface that is clean, smooth, and stable. Walls and other painted areas can accumulate dust, grease, minor dents, and small cracks as part of normal wear. If paint is applied directly over these imperfections, the finished result may look uneven, and the paint may not bond properly with the surface.
Preparation addresses these issues by removing debris, repairing damage, and creating a more uniform base before painting begins. Cleaning the surface helps eliminate contaminants that could interfere with adhesion, while patching and sanding smooth out dents or cracks. These steps allow the paint to spread more evenly and produce a consistent colour and texture across the surface. Although preparation may take additional time, it helps prevent common problems such as peeling, patchiness, or uneven finishes later on.
Cleaning the Surfaces
Cleaning surfaces before painting is a step that’s easy to underestimate, but it makes a real difference in how the final paint job looks and lasts. Kitchens tend to build up a thin film of cooking oils and grease over time, even on walls that are some distance from the stove, because airborne particles from cooking settle everywhere in the room. Hallways, meanwhile, collect handprints, dust tracked in from other rooms, and general grime from daily foot traffic. If paint is applied over these residues, it won’t bond properly to the wall surface. Instead, it may bead up, look patchy, or peel away in the months that follow. That’s why professional painters typically use a mild soap-and-water solution, sometimes with a bit of degreaser for kitchen walls, along with a soft cloth or sponge to wipe down the surface without scratching it.
What makes this step tricky is that dirt isn’t always visible to the naked eye. A wall can look perfectly clean while still holding a light layer of dust, oils from hands touching light switches or doorframes, or mineral residue left behind by humidity. These invisible particles create a barrier between the wall and the new paint, weakening adhesion even when everything appears spotless. That’s why experienced painters clean every surface regardless of how it looks, rather than skipping walls that seem fine. After cleaning, it’s just as important to let the walls dry completely before moving forward. Painting over a damp surface can trap moisture underneath the paint layer, leading to bubbling, uneven texture, or mold growth down the line. Taking the time to clean thoroughly and let everything dry sets the foundation for a smooth, long-lasting paint job.
Repairing Wall Imperfections
Walls naturally develop small imperfections over time. Nail holes, dents, and minor cracks are common in many homes. Repairing these flaws is an important part of the painting preparation process. Professional painters fill holes and cracks using patching materials designed for drywall or plaster. Once the repairs are dry, the surfaces are sanded smooth to match the surrounding wall. This step ensures that the paint will appear even and consistent. Without proper repair work, imperfections would remain visible after painting.
Sanding for Smooth Surfaces
Sanding is another time consuming step in the painting preparation process. This step helps smooth rough areas and removes loose or peeling paint from previous coatings. Sanding also slightly roughens glossy surfaces so that new paint can adhere properly. Without sanding, paint applied over slick surfaces may not bond well. After sanding is completed, painters remove the dust created during the process. Clean surfaces ensure the new paint will apply evenly. This step helps create the polished appearance associated with professional painting.
Protecting Floors and Furniture
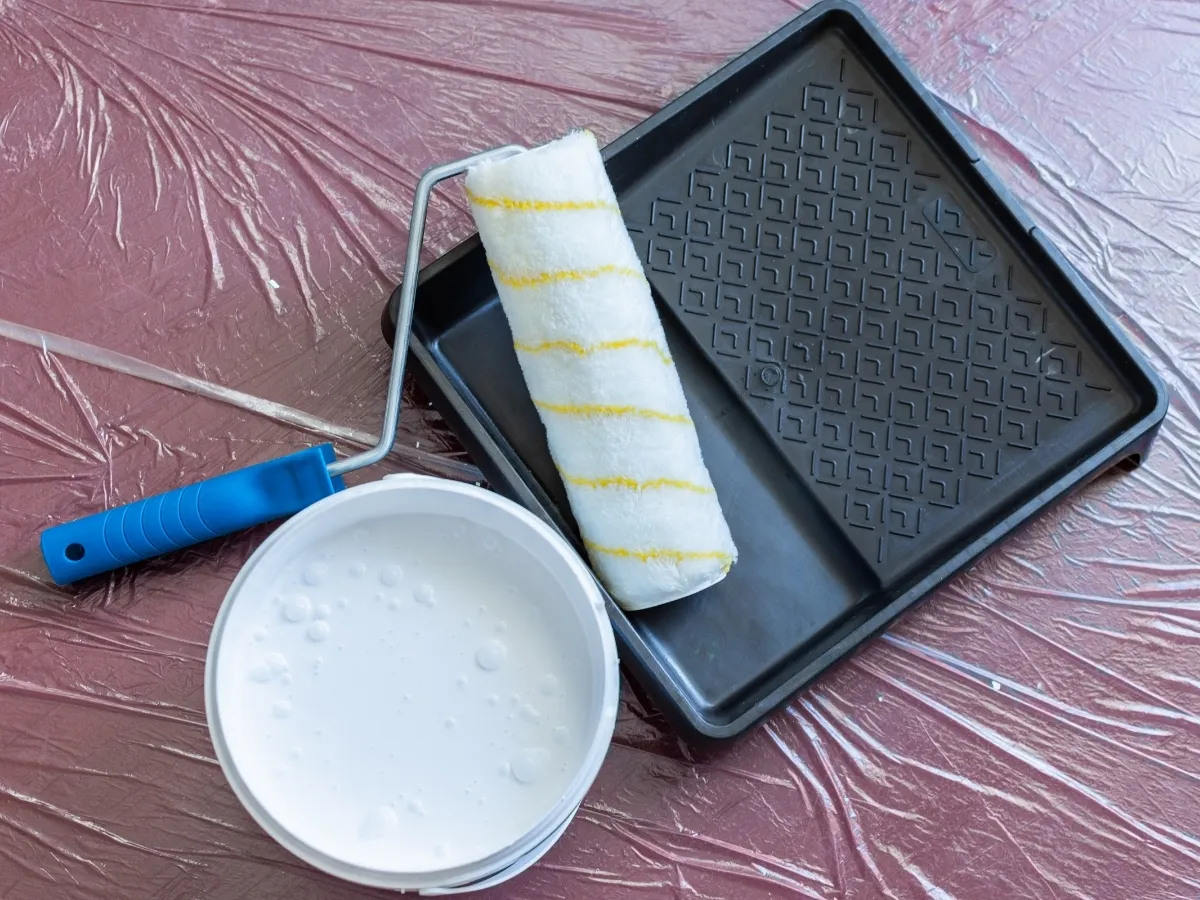
Preparation also involves protecting the surrounding area before painting begins. Floors, furniture, and fixtures must be covered to prevent paint splatters or spills. Drop cloths and plastic coverings are placed over floors and large furniture items. Painter’s tape is applied to edges around trim, windows, and doors. These protective measures help maintain clean lines and prevent accidental paint marks. Taking the time to protect the space allows painters to work more efficiently and safely.
Taping and Masking Edges
Taping and masking are detailed steps in the painting preparation process. These steps help create sharp paint lines where different surfaces meet. For example, tape is applied where walls meet ceilings, trim, or cabinets. This prevents paint from spreading into areas that should remain untouched. Masking also protects outlets, switches, and hardware. Removing these items or covering them carefully ensures a neat final result. Although this step takes time, it helps achieve the crisp edges that make professional painting stand out.
Applying Primer When Needed
Primer is an important step in the painting preparation process because it helps create a stable base for the final paint layers. Its primary function is to improve paint adhesion so the paint bonds more effectively with the surface. Primer can also help cover stains, block strong underlying colours, and create a uniform foundation that allows the new paint to appear more even and consistent.
Certain surfaces benefit especially from the use of primer, including new drywall, patched sections, or walls that contain stains or previous dark colours. Applying primer to these areas helps ensure that the final paint colour appears uniform across the entire surface rather than showing uneven patches. In many cases, primer can also reduce the number of paint coats needed to achieve full coverage. Professional painters select primer products carefully based on the type of surface and the specific requirements of the project to ensure the best possible results.
Allowing Proper Drying Time
Many stages in the painting preparation process require sufficient drying time before the next step can begin. Tasks such as cleaning surfaces, applying patching compounds, priming, and completing minor repairs all need time to dry or cure properly. Each step prepares the surface for the next, and allowing adequate drying time ensures that the materials perform as intended. If these stages are rushed, the surface may not be fully stable when paint is applied.
When preparation layers do not dry completely, the final paint coat may struggle to adhere properly or may develop imperfections such as uneven texture or peeling over time. Allowing proper drying time helps create a strong and reliable base for the paint to bond with. This careful approach ensures that each stage of preparation supports the durability and appearance of the finished surface. Patience during preparation ultimately contributes to a smoother finish and longer lasting paint results.
Professional Interior Painting and Preparation
Professional painters understand that preparation is the most important stage of any painting project. They follow detailed preparation procedures to ensure the final paint job looks smooth and durable. Proper cleaning, repairs, sanding, and priming all contribute to better paint adhesion and appearance. Our interior painting services focus heavily on the painting preparation process because it ensures lasting results for every room in the home. Professional preparation helps homeowners avoid issues such as peeling paint or uneven finishes.
The painting preparation process is also critical in new construction homes. Even new drywall and surfaces require careful preparation before paint is applied. Professional painters inspect surfaces for imperfections, apply primer, and prepare trim and woodwork before painting begins. These steps help ensure that the final paint finish appears smooth and uniform throughout the home. Our new construction painting services ensure new homes receive proper preparation and high quality paint finishes from the start. Starting with proper preparation helps protect the home’s surfaces for years.
Final Thoughts
Painting may appear simple, but the steps leading up to it are what determine the success of the project. The painting preparation process takes time because it ensures surfaces are clean, smooth, and ready for paint. Proper preparation helps paint adhere correctly, improves durability, and creates the polished finish homeowners expect.
At Balzer’s Brushing, we believe that the quality of a paint job depends on the preparation behind it. Our experienced team carefully prepares every surface before painting to ensure beautiful and long lasting results. If you are planning a painting project and want results that last, visit our contact page to connect with Balzer’s Brushing and learn how our professional preparation and painting services can transform your home.
